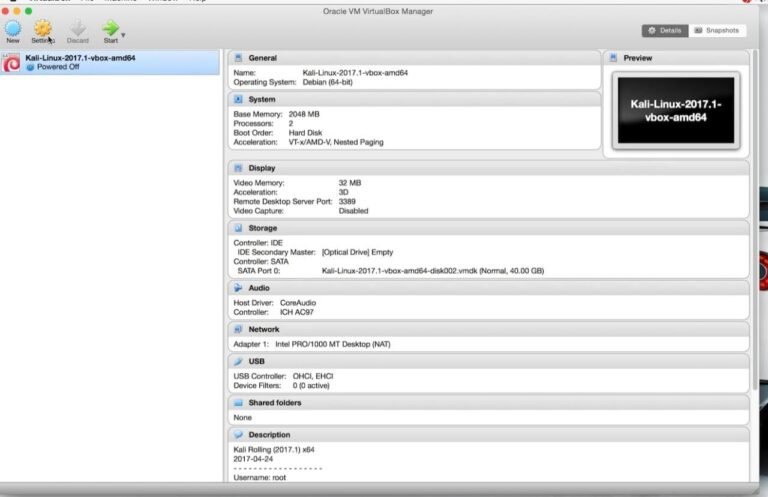
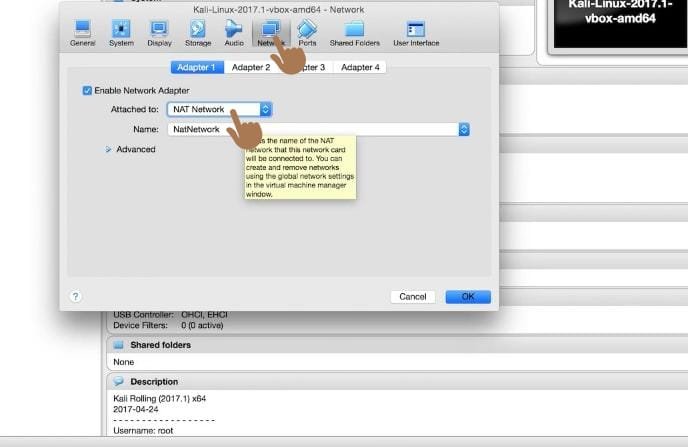
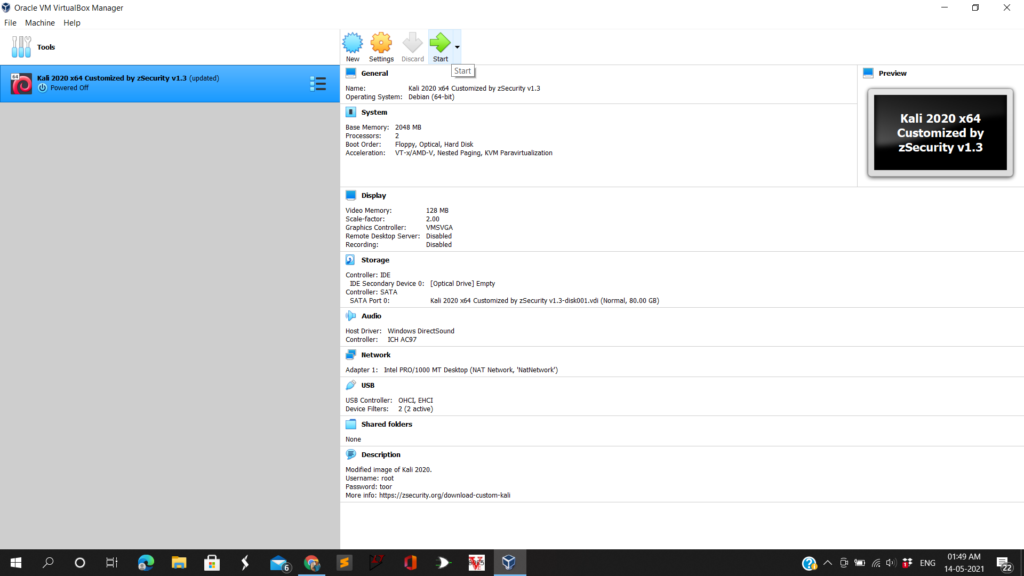
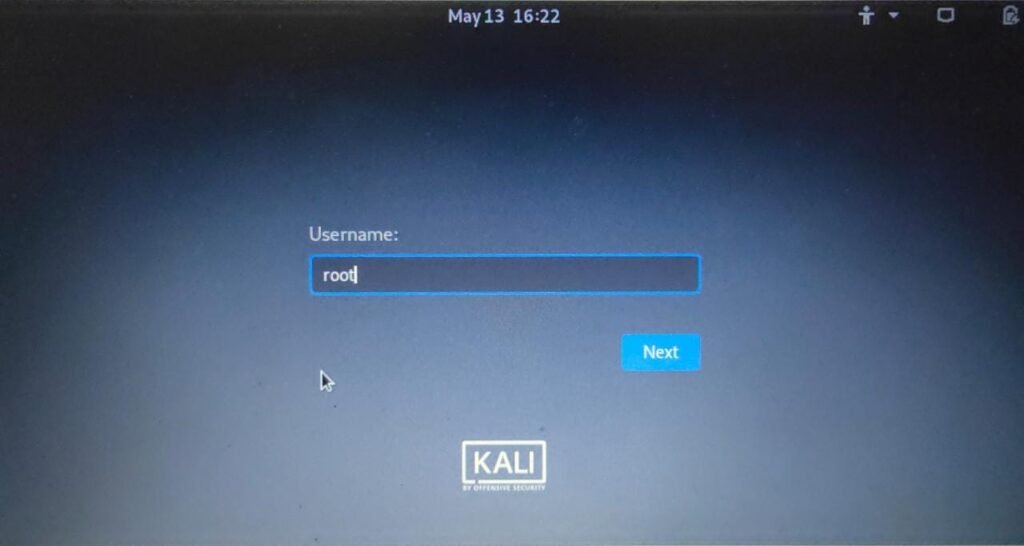
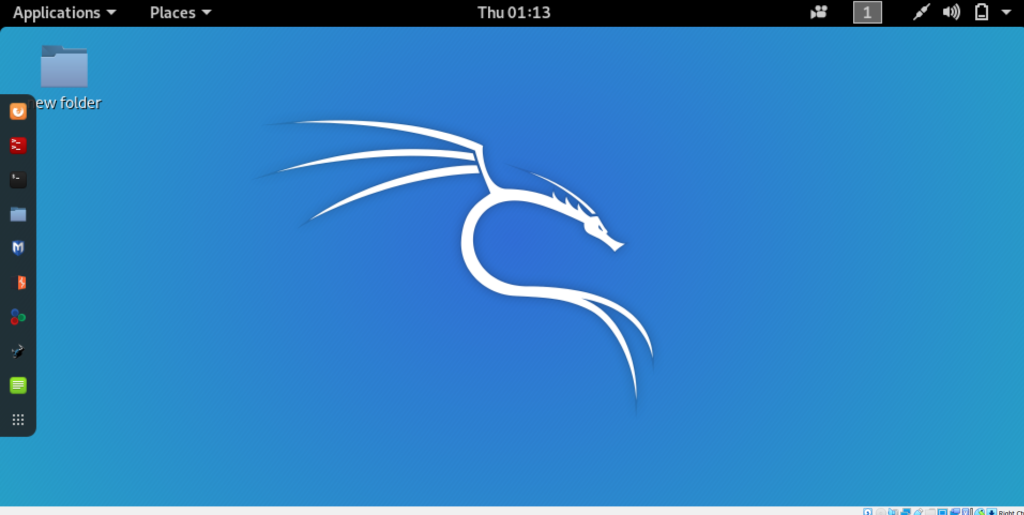
Leave a Comment / By PROLAY / May 13, 2021 / Cyber Security How to Start Kali Linux After Installation Kali 2021 Customised by zSecurity Improved wireless compatibility Atheros AR9271 drivers. Correct RTL8812AU drivers. Realtek RT5370 drivers. Improved Monitor mode, packet injection and AP mode support. GUI Gnome v 3.38.3 Improved performance. Lighter theme. Lighter icons. Replaced guest additions x11 and dkms with less buggy versions. Bug fixes: Fixed netdiscover range issue. Fixed Zenmap discovery bugs. Fixed wash and reaver issues with RTL8812AU chipset. Fixed evilgrade update bug. Fixed bettercap hstshijack caplet issue. Added modified hstshijack caplet that works properly with HSTS websites. Fixed SSlStrip not downgrading HTTPS. Additional software: Terminator / Leafpad / Firefox / Arpspoof / Mdk3 / Mdk4 / Pip / Pip3 / BeEF Framework / Zaproxy / Zenmap / Latest working version of bettercap / Linux Wifi Hotspot / Mana toolkit / Evilgrade / Bdfproxy /Knock IF YOU DON’T KNOW HOW TO INSTALL KALI LINUX IN YOUR DEVICE CLICK THE LINK After Installation You will get such the following interface Some Advance Settings Before Run Kali Linux Step 1 Click on Settings And Go To System Section > Motherboard Make Base Memory to 1024 Mb it is enough Step 2: Go To System > Processors And Keep it Default If your System Has 8 CPUs Otherwise make the processor 1 Step 3: Go To Network Section > Attached To > Make it Attached to Nat Network, It will make Your virtual computer accessible to connect to WiFi Network Step 4: Now You Have to Click On Start and Run The Virtual Computer. Step 5: Enabled root login. Username: root Password: toor Finally Your Set Up is Ready Now
How To Install Kali Linux In Your System | Best Way to Install Kali Linux On Windows Leave a Comment / Cyber Security / By PROLAY